Ever typed “Computer Repairs near Me” in a panic, hoping for an instant fix before your work crashes, your files vanish, or your system freezes in the middle of an important project? You’re not alone! In today’s digital age, even a few minutes of computer downtime can feel like a disaster. But what if the solution was just around the corner—fast, affordable, and handled by true experts?
When your PC or laptop starts acting up, every second counts. You need more than a temporary patch-up; you need dependable professionals who bring your system back to life—quickly, efficiently, and affordably. That’s where Computer Repairs near Me becomes more than just a search—it becomes your lifeline to reliability, speed, and seamless tech performance.
Why You Can’t Afford to Ignore Computer Repairs near Me
Your computer isn’t just a gadget—it’s your workspace, your entertainment hub, your communication bridge, and sometimes, your entire livelihood. When it fails, the impact is immediate and often overwhelming. Searching Computer Repairs near Me isn’t just about convenience—it’s about rescuing your productivity before it’s too late.
Local computer repair experts ensure fast turnaround times, hands-on service, and personalized care that online or distant repair centers simply can’t provide. Forget about long shipping delays or faceless call centers—local technicians mean immediate action, real communication, and quick results that get you back online in no time.
Speed That Saves Your Day
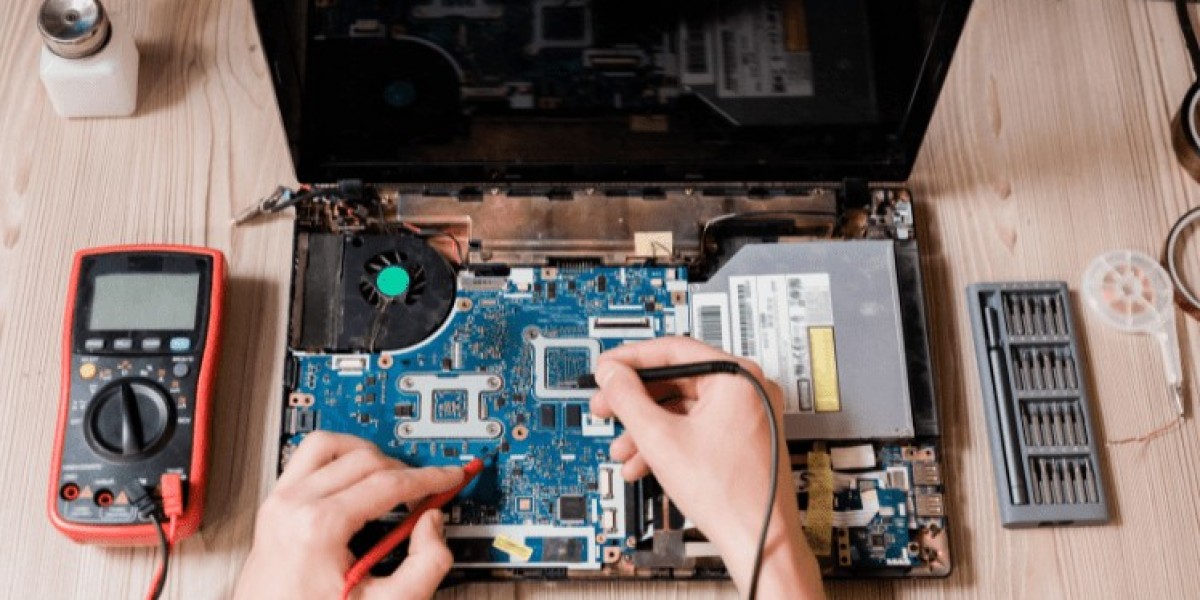
When your system crashes, time is your biggest enemy. A slow response can mean lost documents, missed deadlines, or even damaged hardware. That’s why finding Computer Repairs near Me gives you a massive advantage—speed.
Local repair professionals are available at your doorstep, ready to diagnose, repair, and optimize your machine faster than you can imagine. Whether it’s a virus attack, slow performance, blue screen, or a complete system failure, nearby experts can save you from hours (or days) of downtime.
The best part? They come equipped with the right tools, genuine parts, and years of hands-on experience. No guesswork, no experiments—just precise solutions that bring your device back to peak performance instantly.
Your One-Stop Destination for Reliable Tech Support
When it comes to dependable, lightning-fast, and affordable computer repair services, look no further than Techbuddy Australia. They combine cutting-edge expertise with personalized local support to ensure your system performs at its best—always.
Stop searching and start fixing—because your computer deserves the best hands in the business. Whether it’s a hardware failure, a virus threat, or a slow, lagging system, the solution is closer than you think.
Affordable, Transparent, and Hassle-Free Services
Searching Computer Repairs near Me doesn’t just mean convenience—it also means cost savings. Local technicians often offer better pricing than big retail repair chains, without compromising on quality. You get clear estimates upfront, zero hidden charges, and a level of customer care that’s personal and trustworthy.
Whether you’re dealing with hardware replacements, data recovery, virus removal, or routine maintenance, nearby experts understand that every client’s situation is unique. They tailor solutions that fit your needs—and your budget—while ensuring that your computer runs smoother and faster than ever before.
Experience the Power of Professional Expertise
Anyone can claim to fix computers—but true professionals know that precision, patience, and skill matter. When you find Computer Repairs near Me, you’re connecting with certified technicians who have deep knowledge of all major computer brands and operating systems.
From Windows laptops and custom gaming rigs to Apple Macs and business desktops, these experts can handle it all. They don’t just fix problems—they prevent them from recurring. With advanced diagnostics and preventive care, they ensure your device stays optimized long after the repair.
And the experience doesn’t stop at fixing technical issues. They also offer upgrades, software installations, and network troubleshooting to keep your entire setup running flawlessly. It’s not just repair—it’s a complete technology wellness service.
On-Site, Remote, or In-Shop – The Choice Is Yours
The modern world demands flexibility, and Computer Repairs near Me delivers exactly that. Whether you prefer on-site services at your home or office, quick drop-ins at a nearby repair shop, or even remote troubleshooting sessions, local experts adapt to your schedule.
Imagine getting your system fixed without even leaving your workspace or waiting in line. With the power of remote assistance, technicians can solve many common problems instantly—saving you time, money, and hassle. For hardware issues, a nearby shop ensures you can drop off your device and get it back in record time, often on the same day.
Don’t Wait Until It’s Too Late!
The longer you delay fixing a computer issue, the worse it can get. A small glitch today could become a total system breakdown tomorrow. Files can get corrupted, drives can fail, and viruses can spread like wildfire. That’s why you should act the moment you sense trouble—and Computer Repairs near Me is your best starting point.
By reaching out to local professionals, you’re ensuring that your computer gets immediate care, precise repairs, and long-term protection against future problems.
Read More: