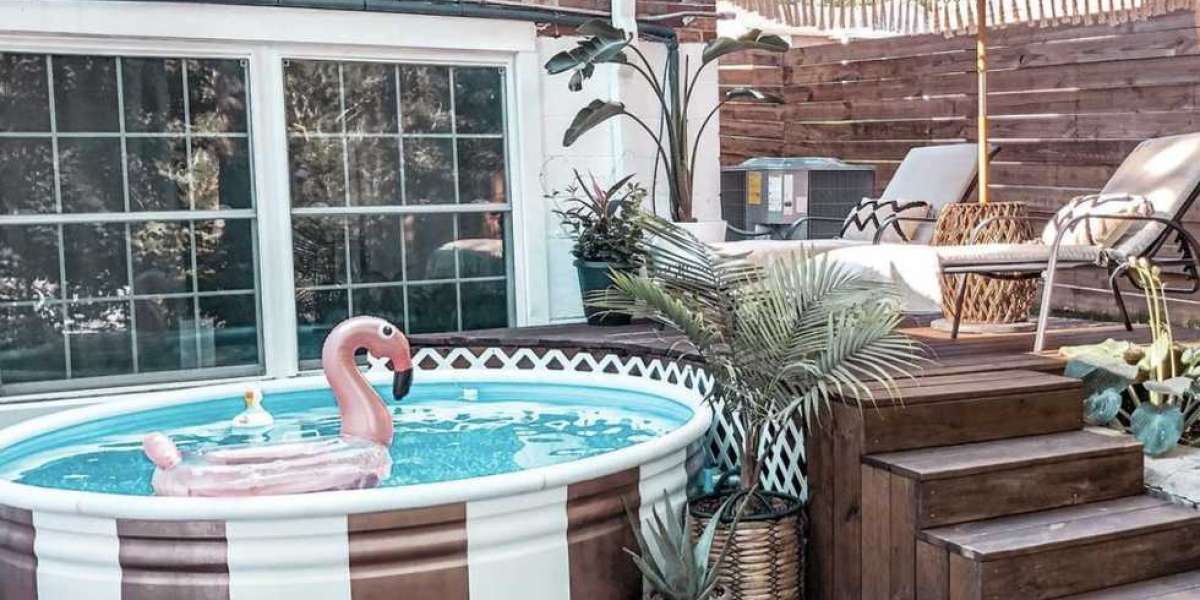
Turn your backyard into a refreshing oasis with the excitement of a DIY pool kit! No need to venture far for a cool escape—bring the joy of swimming right to your doorstep. In this guide, we'll walk you through the steps to create your own backyard retreat with a DIY pool kit, ensuring a splash-worthy experience for family and friends all summer long.
Step 1: Choose the Right DIY Pool Kit:
Select a DIY pool kit that suits your space and preferences. Kits are available in various sizes and styles, from inflatable options to more permanent above-ground structures. Consider factors like available space, budget, and desired features before making your choice.
Step 2: Plan Your Pool Location:
Identify the perfect spot in your backyard for your DIY pool. Ensure a flat and level surface, away from trees or structures that may pose obstacles. Consider factors like sunlight exposure and proximity to water sources for easy filling.
Step 3: Clear and Prepare the Area:
Clear the designated area of any debris, rocks, or sharp objects that could potentially damage the pool. Level the ground using a shovel and ensure a smooth base for your DIY pool.
Step 4: Unbox and Organize:
Carefully unpack your DIY pool kit, taking note of all components. Organize the parts according to the provided instructions to streamline the installation process. This step ensures a smoother and more efficient assembly.
Step 5: Assemble the Pool Frame:
Follow the manufacturer's instructions to assemble the pool frame. This typically involves connecting sturdy metal or PVC pipes to create the structure. Ensure that each joint is secure and stable, laying the foundation for your DIY pool.
Step 6: Lay Out and Secure the Pool Liner:
Spread out the pool liner inside the frame, ensuring it is evenly distributed. Smooth out any wrinkles and secure the liner in place according to the provided guidelines. This step creates the watertight barrier for your DIY pool.
Step 7: Set Up the Plumbing:
Connect the necessary plumbing fittings to the pool using a PVC pipe cutter to customize the pipes to the required lengths. Double-check for leaks and ensure all connections are secure. This step is crucial for proper water circulation.
Step 8: Install the Water Pump:
Follow the manufacturer's instructions to install the water pump. Proper circulation and filtration are essential for maintaining clean and clear pool water. Test the pump to ensure it is functioning correctly.
Step 9: Fill 'er Up!
Fill the pool with water using a garden hose or other water source. Monitor the water level and make any necessary adjustments to ensure proper alignment. This step marks the exciting moment when your DIY pool begins to take shape.
Step 10: Test and Enjoy:
Use a water testing kit to check the chemical balance of the pool water. Add the appropriate pool chemicals to maintain water quality and create a safe swimming environment. Once everything is set, it's time to dive in and enjoy the refreshing oasis you've created in your own backyard!
Conclusion:
Make a splash in your own backyard with the thrill of a DIY pool kit installation. Turn your outdoor space into a summer retreat for family and friends, creating lasting memories of fun and relaxation. Follow these easy steps, and soon you'll be enjoying the refreshing waters of your DIY pool—a perfect addition to your home for the sunny season ahead!