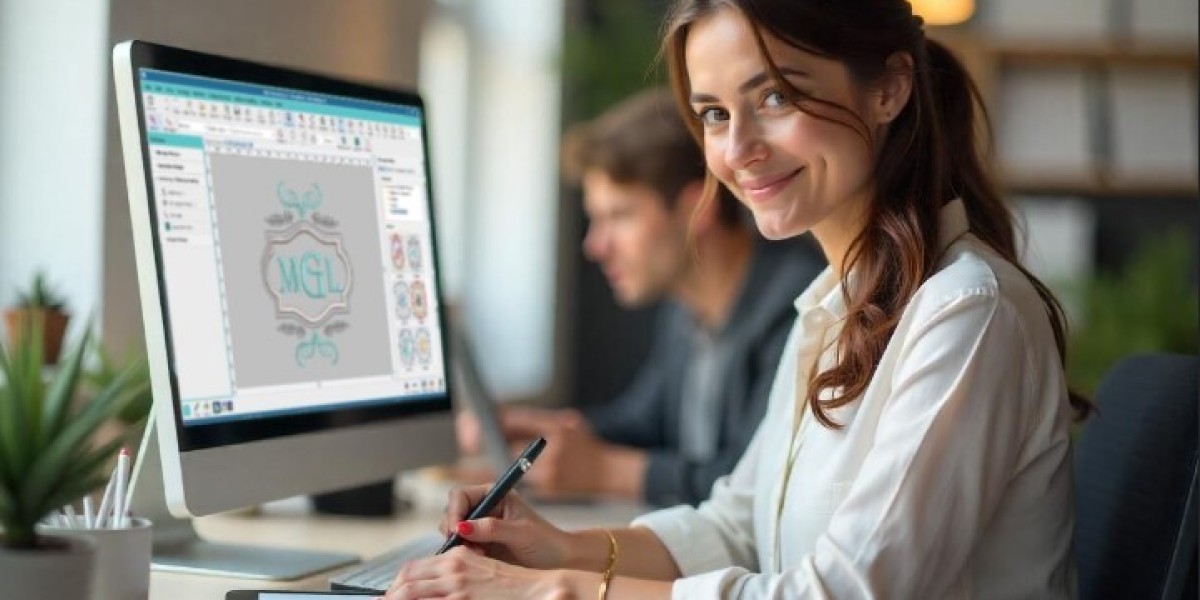
Introduction: Beyond Basic Conversion
You found the perfect image for your next embroidery project, and your Janome machine stands ready. But when you try to convert image to JEF file using basic software, the results disappoint—puckered fabric, broken details, and stitching that looks nothing like your original artwork. This frustrating scenario plays out daily for embroiderers who discover that simple conversion tools can't capture the nuance of great embroidery.
Creating exceptional JEF files requires moving beyond automated digitizing and embracing techniques that professional digitizers use. The process involves understanding both the technical requirements of Janome machines and the artistic principles of embroidery design. Whether you're creating designs for personal use or commercial purposes, mastering these advanced methods will transform your results from amateurish to professional quality.
Understanding the JEF Advantage
Before diving into advanced techniques, it's crucial to understand what makes JEF files special. Janome Embroidery Format (JEF) is optimized specifically for Janome machines, taking advantage of their unique capabilities and ensuring reliable performance.
What sets JEF apart:
Native compatibility with all Janome embroidery machines
Support for Janome-specific features like mirror imaging and perfect alignment
Optimized stitch rendering for Janome's mechanical systems
Efficient file structure that minimizes processing time
While you can run converted DST files on Janome machines, native JEF files often produce superior results because they're tailored to your equipment's specific strengths and characteristics.
Advanced Image Preparation Techniques
The quality of your final embroidery begins long before you open digitizing software. Professional results start with proper image preparation.
Vector Conversion for Clean Lines
While many beginners try to digitize directly from JPEG or PNG files, professionals almost always convert to vector format first.
Why vectors matter:
Create perfectly smooth lines regardless of enlargement
Define clear boundaries between color sections
Eliminate pixelation that causes jagged edges in stitching
Provide precise control over every design element
Use Adobe Illustrator or free alternatives like Inkscape to trace your image, creating clean paths that will translate beautifully into stitches.
Strategic Simplification
Embroidery has inherent limitations that differ from printed artwork. The most successful conversions involve thoughtful simplification.
Simplify effectively by:
Combining adjacent similar colors to reduce thread changes
Removing tiny details that won't stitch clearly at your target size
thickening thin lines that would require single stitches
Creating clear separation between design elements
Remember: A simplified design that stitches well always looks more professional than a complex design that stitches poorly.
Mastering Stitch Type Selection
Choosing the right stitch types separates amateur digitizing from professional-quality work. Each stitch type serves specific purposes and creates different visual effects.
Satin Stitches for Elegant Borders
Satin stitches create smooth, shiny columns perfect for outlines, lettering, and defining edges.
Advanced satin stitch techniques:
Vary stitch length from 2.0mm to 6.5mm based on column width
Use shorter stitches (2.5-4.0mm) for tight curves to prevent gapping
Implement split stitching for complex shapes rather than forcing awkward angles
Adjust density from 65-85 stitches per inch based on thread weight and fabric
Fill Stitches with Directional Impact
Fill stitches cover large areas, but their direction dramatically affects the final appearance.
Professional fill strategies:
Angle fill stitches to complement the shape's natural flow
Use motif fills for decorative effects in appropriate areas
Create gradient effects by gradually changing stitch density
Implement split fills for large areas to minimize pull distortion
Strategic Running Stitches
Don't underestimate the power of simple running stitches for fine details.
Advanced running stitch applications:
Create fine details like facial features or delicate patterns
Use triple stitches for emphasis on important lines
Add textural contrast to primarily satin-stitch designs
Outline fill areas with running stitches to contain stray fibers
Precision Parameter Adjustments
The difference between good and great JEF files often lies in subtle parameter adjustments that optimize performance on Janome machines.
Pull Compensation Mastery
Pull compensation counteracts fabric distortion caused by thread tension. This is where many auto-digitized designs fail.
Implement pull compensation effectively:
Add 0.3-0.5mm compensation to satin stitches based on fabric stability
Increase compensation to 0.6-0.8mm for stretchy fabrics
Apply directional compensation to fill stitches based on grain line
Test compensation settings on fabric scraps before finalizing designs
Density Optimization
Stitch density affects everything from coverage to fabric stability.
Advanced density considerations:
Reduce density to 65-75 SPI for stretch fabrics to maintain flexibility
Increase density to 80-90 SPI for designs on thick materials like caps
Vary density within a single fill to create visual interest
Balance density with stitch length to prevent thread breaks
Underlay Strategies
Underlay stitches provide foundation and stability, yet many beginners overlook their importance.
Professional underlay approaches:
Use edge run underlay for satin stitches to create clean boundaries
Implement center walk underlay for fill areas to stabilize large sections
Add perpendicular grid underlay for stretch fabrics to minimize distortion
Adjust underlay density from 50-70% of topstitch density based on fabric
Janome-Specific Optimization
Take advantage of features unique to Janome machines and JEF format to elevate your designs.
Perfect Alignment Utilization
Janome's Perfect Alignment feature helps maintain registration across complex designs.
Design for perfect alignment by:
Placing alignment points in low-visibility areas
Using the same alignment markers throughout a design series
Testing alignment on actual fabric before production runs
Color Palette Optimization
Janome machines display specific color information from JEF files.
Optimize your color strategy:
Use Janome's standard thread palette for accurate color representation
Group similar colors sequentially to minimize thread changes
Include color notes in your design file for future reference
Test color combinations on actual fabric under various lighting conditions
Hoop Awareness
Design with specific Janome hoop sizes in mind for optimal results.
Hoop-conscious design techniques:
Keep important elements away from hoop edges where distortion occurs
Design within 80% of maximum hoop size for stability
Create multi-hoop designs with strategic overlap points
Test hoop placement on difficult fabrics before committing
Workflow for Flawless Conversion
Implement this professional workflow to consistently create high-quality JEF files.
Step 1: Comprehensive Image Analysis
Evaluate your source image for potential conversion challenges before beginning digitizing.
Step 2: Strategic Vectorization
Convert to vector format with embroidery limitations in mind, not just visual accuracy.
Step 3: Stitch Type Mapping
Plan which stitch types will work best for each design element before digitizing.
Step 4: Sequential Digitizing
Work through your design in logical stitching order rather than visual layout order.
Step 5: Parameter Refinement
Adjust pull compensation, density, and underlay based on your specific fabric choice.
Step 6: Virtual Proofing
Use software simulation to identify potential issues before stitching.
Step 7: Physical Testing
Stitch a sample on your actual project fabric and make final adjustments.
Step 8: Documentation
Note the optimal settings for future use with similar projects.
Common Pitfalls and Professional Solutions
Problem: Design stitches poorly on different fabrics than originally tested.
Solution: Create multiple JEF versions optimized for specific fabric types.
Problem: Fine details get lost in conversion.
Solution: Simplify during vectorization rather than during digitizing.
Problem: Thread breaks occur in dense areas.
Solution: Implement graduated density and check for appropriate needle size.
Problem: Registration shifts between colors.
Solution: Add more underlay and adjust pull compensation.
Conclusion: The Art of Technical Excellence
Converting images to high-quality JEF files represents the perfect marriage of artistic vision and technical precision. By moving beyond basic auto-digitizing and embracing these advanced techniques, you transform from someone who simply converts files into a craftsman who understands how to make designs stitch beautifully.
The most successful embroiderers recognize that creating exceptional JEF files requires patience, practice, and attention to detail. Each adjustment to stitch type, density, or compensation brings you closer to designs that not only look like your original image but actually enhance it through the unique texture and dimension of embroidery.
Remember that professional-quality conversion is iterative. Your first attempts might not achieve perfection, but each project builds your understanding of how digital choices translate into physical stitches. With these advanced techniques, you're equipped to create JEF files that do justice to your creative vision while performing flawlessly on your Janome machine.
The satisfaction of seeing a beautifully stitched design that started as a simple image makes the effort of mastering these techniques worthwhile. Your Janome machine is capable of exceptional embroidery—by providing it with expertly crafted JEF files, you unlock its full potential and elevate every project you create.