Introduction
Once you’ve built a few model airplane kits, you’ll likely want to push the boundaries of what’s possible, creating models that don’t just look like toys but resemble mini replicas of real aircraft. That’s where advanced techniques come in. These methods are designed to add intricate details, depth, and realism to your builds. Whether you're interested in showcasing your models at competitions or simply want to improve your skills, these techniques will help take your projects to the next level.
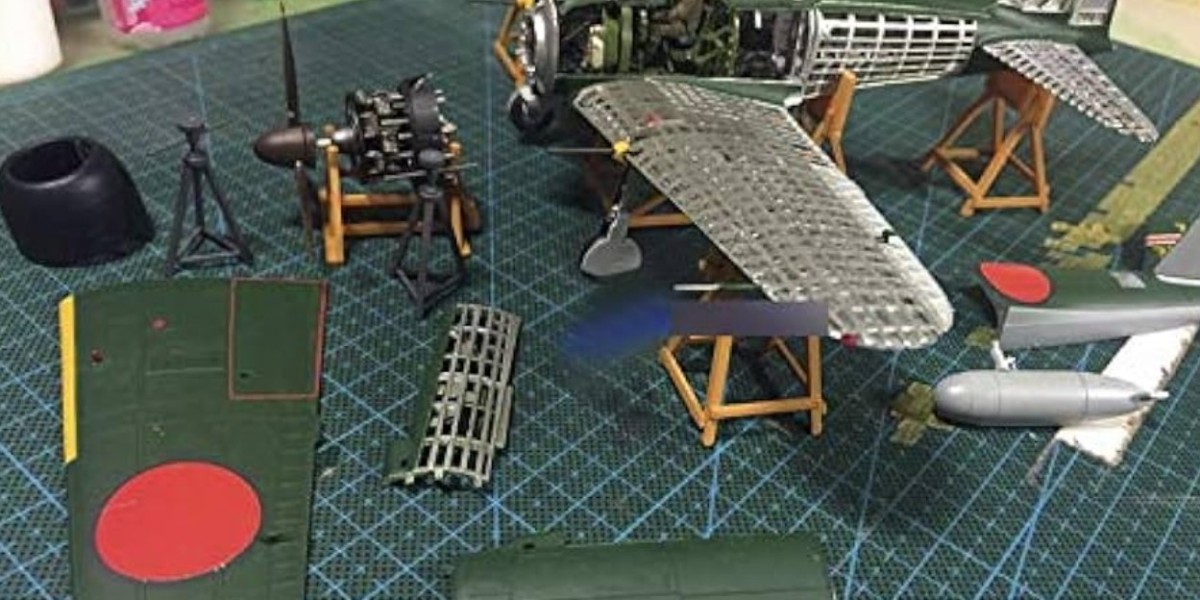
Advanced Toolkits
While basic tools like tweezers and cutters will get you through a simple build, advanced modelers need specialized tools for detailing. Here are some of the must-have tools for advanced modelers:
- Precision knives: For more intricate cutting and shaping of small parts.
- Pin vises: For drilling tiny holes to add rivet details or other customizations.
- Fine-tipped paintbrushes: Essential for applying detail work such as cockpit dials or rivets.
- Micro-files and sanding sticks: For refining the fit of parts and smoothing seams to an almost invisible level.
Having the right tools will give you the precision needed for advanced detailing and customization.
Precision Cutting and Shaping
When working on more advanced kits or adding custom modifications, precision cutting and shaping are essential. This can be achieved by:
- Using precision files and sandpaper to fine-tune the edges of parts, ensuring that they fit together seamlessly.
- Cutting parts slowly and methodically to avoid damaging delicate pieces.
- Adjusting part shapes with hobby knives to make sure they align properly during assembly.
Airbrushing for a Professional Finish
One of the best ways to take your models to the next level is through airbrushing. Unlike traditional brushes, airbrushes allow for smooth, even coats of paint without visible brush strokes. They also make it easier to achieve gradients and shading that give the model a more realistic look.
Airbrushing tips for beginners:
- Use thin layers of paint to build up the color gradually.
- Maintain a consistent distance between the airbrush and the model.
- Practice on a scrap piece before applying paint to your model.
For the best results, invest in an airbrush kit with a compressor and various nozzle sizes for different levels of detail.
Using Decals to Add Realism
Decals are an essential part of achieving a professional finish on your model airplane. However, applying them properly can be tricky. To avoid wrinkles or air bubbles:
- Soak the decals in water for the recommended time, usually 10–20 seconds.
- Use a soft brush to position the decal on the model carefully.
- After applying the decal, use a setting solution like Micro Set or Micro Sol to ensure the decal conforms to the model’s surface.
If you want to customize your model beyond what's in the kit, aftermarket decals can be purchased to add unique markings, logos, or insignias.
Pre-shading and Post-shading Techniques
Pre-shading and post-shading techniques are used to add depth to your model, making it look more realistic. Pre-shading involves applying a darker color along panel lines and edges before painting the main color. Once the base coat is applied, the darker lines underneath give a sense of depth and wear.
Post-shading is applied after the base coat and involves using lighter or darker shades to create highlights or shadows. This is great for simulating wear and tear or giving the model a sun-faded look.
Panel Line Accents
Panel lines are a key feature of most airplanes, and highlighting them can add realism. Use a panel line wash to accentuate the panel lines and make them stand out. This involves:
- Applying a thinned-down wash of black or dark gray paint.
- Letting it settle into the panel lines.
- Wiping off the excess with a damp cloth or cotton swab.
The effect is subtle but adds a tremendous amount of realism.
Weathering for a Realistic Finish
Adding weathering effects to your model is essential for creating a realistic finish. This can simulate the wear and tear an airplane would experience during real-life operations. Popular weathering techniques include:
- Dry brushing: Use a nearly dry brush with a small amount of paint to highlight raised areas, simulating wear on the edges of panels.
- Pastels and powders: These can simulate dirt, grime, or exhaust stains.
- Oil paints: Thin down oil paints with mineral spirits and use them to create streaking effects on the body of the aircraft.
Adding Rivet and Panel Line Detailing
For modelers who want to go the extra mile, adding custom rivet and panel line detailing is an excellent way to enhance realism. This can be done using:
- Rivet tools: Specialized tools that allow you to create evenly spaced rivets on your model.
- Scribing tools: These tools help deepen existing panel lines or create new ones, making them more pronounced after painting.
Masking Techniques for Complex Paint Jobs
Many advanced model airplane kits require complex paint jobs, often with multiple colors or intricate patterns. Masking is a key technique to achieve clean, sharp lines between colors. Use masking tape for large areas and liquid masks for more complex shapes. Be sure to press down the edges firmly to prevent paint from seeping underneath.
Advanced Decal Application Techniques
For a truly seamless look, advanced decal techniques involve:
- Using setting solutions that soften the decal, allowing it to conform to uneven surfaces like rivets or panel lines.
- Applying a gloss coat before and after decal application to protect the decals and blend them into the paintwork.
Realistic Cockpit Detailing
Cockpit detailing can be one of the most rewarding parts of building an advanced model. Many kits offer cockpit details, but you can take it further by:
- Adding custom photo-etched parts for instrument panels and seatbelts.
- Using fine-tipped brushes to paint dials, buttons, and gauges with precision.
- Adding small figures to enhance the realism of your cockpit.
Lighting and Electrical Features
For a real showstopper, consider adding lighting to your model airplane. This can be achieved using LEDs to simulate cockpit lights, navigation lights, or afterburners. You’ll need to carefully wire these into the model, ensuring the battery and switch are hidden within the base or model itself.
Display and Diorama Building
Once your model is complete, creating a dynamic display or diorama can add context and drama. Consider building a runway or airfield scene, or adding ground crew and vehicles. You can also use materials like cotton wool for smoke or weathering powders to simulate dirt and grime on the display.
Conclusion
Advanced techniques for building and detailing model airplanes offer endless opportunities to improve your skills and creativity. With the right tools and methods, you can transform a simple kit into a stunning replica that looks ready to take flight. Keep practicing, experimenting, and challenging yourself, and you'll see your models reach new heights.
FAQs
- What is the best airbrush for model airplanes?
- A dual-action airbrush with a fine nozzle is ideal for model airplanes, as it allows for precise control over paint flow.
- How do I prevent decals from silvering?
- Apply a gloss coat before adding decals, and use setting solutions to ensure they adhere smoothly.
- What’s the best way to simulate weathering?
- Dry brushing and weathering powders are both excellent for simulating dirt, grime, and wear.
- Can I add lighting to any model?
- Yes, but it requires careful planning. You’ll need space to hide wires and LEDs, and some modification to the model.
- How do I get smooth paint finishes without brush strokes?
- Using an airbrush and applying thin coats of paint will help achieve a smooth, even finish.
Our Social Pages:
https://plastic-models-store.com/
https://www.facebook.com/plastic.models.store